Sunday 26 December 2021

A Tomtes Christmas ~ All Finished


I just want to say a Massive Thank You to everyone who joined in!! I’ve had so much fun seeing your progress and gorgeous stitching. I definitely want to do this again!!  
The pattern and all the steps for A Tometes Christmas will stay up on my blog for you to access anytime.
God Jul!


A Tomtes Christmas ~ Day 23 and 24

Day 23
Oh Christmas Tree!
Almost at that finish line! Woohoo! The tree is pretty much all stem stitch. The top ball is DMC 972, the branches are 704 and the stem is 699. I sprinkled a bunch of 666 french knots onto the branches.

Day 24
For the Star, outline is DMC 972 stem stitch. The wand holding the Star is 699 Stem stitch. The ribbon swirls are 666 and 816 stem stitch. The embellishments inside the star are 816 straight stitches and 704 french knots.
And that’s a wrap!! Woohoo!! ❤️💚❤️💚❤️💚


Wednesday 22 December 2021

A Tomtes Christmas ~ Days 21 and 22

Day 21
The string of hearts is a 699 stem stitch swirl and outline of the large heart. The hearts are filled with DMC 666 satin stitch. I outlined the small heart with 816 stem stitch then popped on a 704 french knot at the bottom.
The bird is outlined in 816 stem stitch. The wing is filled with 704 satin stitch with a row of stem at the top. The beak is 972 satin stitch and legs are two 972 straight stitches. Pop on a little 699 french knot for the eye and the little bird is finished!!

Day 22
I can’t believe it’s almost Christmas!! The swirl and hearts are the same stitches and colours as the left side. This bird is outlined in DMC 704 stem stitch. The wing is 816 filled with satin stitch and a line of stem stitch on top. The beak and legs are 972 and a 699 french knot for the eye.


Monday 20 December 2021

A Tomtes Christmas ~ Days 19 and 20


Day 19
I used DMC 699 stem stitch for the swirls. Big chunky DMC 704 french knots. The hearts are filled with DMC 666 satin stitch and the larger heart is outlined with 816 stem stitch.
Day 20
 I outlined the heart with a stem stitch in 816. Lines across the heart are 704 stem stitch with little stars going across in 972.

A Tomtes Christmas ~ Days 17 and 18


Day 17
The outline is stem stitch with DMC 704. The leaves are filled with DMC 972 and 699. Bottom leaf - straight stitches, middle leaf - satin stitch outlined by stem stitch, top leaf - straight stitches and a French knot.
The top circle is filled with 699 satin stitch and outlined with 704 stem stitch.

Day 18
Same stitches and Mirror image of Day 17

A Tomtes Christmas ~ Days 13, 14, 15 and 16

Day 13
The flower in the middle of the large heart is a bunch of lazy daisies made with DMC 699. The outline of all the hearts is DMC 816 stem stitch. The small hearts are filled with DMC 666 satin stitch and topped off with a DMC 704 french knot. 

Day 14
Mirror image the stitches and colours from day 13

Day 15
All the same stitches as the right side up hearts just flip them upside down 🙃🙃🙃🙃

Day 16
Same stitches, different side!! 

Sunday 12 December 2021

A Tomtes Christmas - Days 11 and 12


Day 11
The outline is stem stitch with DMC 704. The leaves are filled with DMC 972 and 699. Bottom leaf - straight stitches, middle leaf - satin stitch outlined by stem stitch, top leaf - straight stitches and a French knot.


Day 12
These leaves are the mirror image of the leaves from Day 11.


Thursday 9 December 2021

A Tomtes Christmas ~ Days 8, 9 and 10


Day 8
The little upside down heart is filled with DMC 666 satin stitch and outlined by DMC 699 stem stitch. The swirls are also 699 stem stitch topped off by two super chunky french knots in DMC 704.


Day 9
DMC 816 Stem stitch outline, I added some lines across the bottom and top with some extra straight stitches. DMC 704 satin stitch (this was not my best effort, I was tired so there is some wonkiness) with a stem stitch edge for the two bold lines. DMC 972 star stitch across the middle. DMC 666 French knots along the sides. The little ball at the bottom is 704 satin outlined by 699 stem.


Day 10
Get ready to stem stitch some swirls! I used DMC 699 with some DMC 666 french knots. The little balls at the end of the swirls are filled with red satin stitch and outlined with more green stem stitch.
I do love swirls! 

Need a French Knot Refresher??
Click HERE


Monday 6 December 2021

A Tomtes Christmas ~ Days 5, 6 and 7


Day 5
The stitches are the same as Mr Tomte’s Hat, stem stitch outlines with a cross stitch and running stitch embellishment and satin stitch pompon outlined in stem stitch. DMC 666 for the red parts and 816 for the dark red bits. 


Day 6
I used DMC 699 and a stem stitch to outline the robe and make the lines in the front. DMC 704 and a star stitch ( just a cross stitch with a straight stitch through the middle like on the hat) for the twinkles on the robe ⭐️⭐️


Day 7
DMC 666 stem stitch outline and lines on the robe. The little bow in her hair is two lazy daisies. I’ll post a stitch tutorial video on my blog. DMC 816 for the star stitch sparkles on her robe.

If you need a refresher on the Lazy Daisy, here is a tutorial from Cutesy Crafts.


Friday 3 December 2021

A Tomtes Christmas ~ Days 3 and 4


Day Three

Time to give your girl Tomte some luscious locks! 
Use the same floss from the beard, DMC 3024, and a satin stitch.
I curved my satin stitch down her ponytail to try and make it look more like hair. 


Day Four

Mr Tomte's Hat! Outline the bottom edge of the hat with two strands of DMC 699 and a stem stitch. The top section of the hat is the same. Use DMC 704 to outline the middle section in stem stitch. The decor along the band of the hat is three cross stitches in DMC 699 then a DMC 704 running stitch back over the middle of the crosses.
The pompom is filled in with DMC 704 satin stitch and outlined in stem stitch.


Wednesday 1 December 2021

A Tomtes Christmas ~ Day 2

Tomtes are know for their beards! I wanted my little fella to have a kind of silvery/grey beard to stand out from my off white fabric.

I used two strands of DMC 3024 and a satin stitch for the beard.

If you need some help with satin stitch here is a great tutorial!
 

Tuesday 30 November 2021

A Tomtes Christmas ~ Day One

 It's 1 December! YAY! Time to start stitching! 


I tend to use lots of colours but narrowed down to 7.
Flesh - 407
Light Grey- 3024
Yellow - 972
Bright Red - 666
Garnet- 816
Chartreuse - 704
Green - 699


This is the order I am planning to stitch in but there are No Rules with this Stitch-Along except Have Fun!!


Day One I stitched noses and hands with colour 407 and a stem stitch.
If you need a bit of a refresher on stem stitch here is a video tutorial from Cutesy Crafts.

Thank You So Much for joining me on this Stitch-Along!!!


Monday 22 November 2021

Christmas Stitch-Along


I'm running a little Christmas Stitch-Along on my Instagram page.
I've never done one of these but thought it could be fun.

I'll start posting colours and stitches on 1 December. 

Download the Free Pattern Here ~ A Tomtes Christmas Embroidery Pattern 

If you have any issues with the Download, please email me elliottsplayground@gmail.com and I will email the pattern back to you. :)

Tuesday 16 November 2021

Melchior's Hat Video


I've had a few people ask me for clarification on how to make the inside bit of Melchior's hat. Even when I attempt to explain in words I find myself trying to show people with my hands.
Video time!!
I've never made an instructional video( it kind of shows, haha!) but hopefully this visual will help explain away any tricky parts.

To watch the video, click the link Melchior's Hat Video


Tuesday 12 October 2021

Vintage Style Halloween Ornaments

 Are you looking for some easy, last minute Halloween Tree Ornaments? Do you love a vintage Halloween look?

Try making these little beauties! All you need to do is cut and glue!


What You Will Need

Colour Printer
Glitter
Mat Board or something like cereal boxes
School (PVA) Glue
Ribbon
Scissors

Download this collection of vintage Halloween cards I have collected that are free for personal use.


Cut out the images you want to use and pieces of mat board (or cereal boxes headed to the recycling bin) in the same size and glue together. Once dry, dip each side in glue then glitter to make a shiny edge.


When the glitter edge is dry add a ribbon hanger on the back side. You can use the school glue and let dry overnight. Or if you have a glue gun and are in a hurry then pop the ribbon on with the glue gun.


Once the ribbon has dried it is time to decorate!!


Now you have your very own Vintage Style Halloween Ornaments! YAY!

Sunday 1 August 2021

Halloween Decorations made with Paper-Mache

Paper-Mache (or Papier-Mâché if you want to get fancy) is one of my all time favourite mediums to make things with. It's super inexpensive and makes for lots of messy fun!


There are two main techniques when it comes to paper-mache. One, make the paste of glue, water and flour, dip strips of paper in the paste then layer the paste covered paper over a base. Two, make a paper-mache clay then spread the clay over a base. I like the strip method for big projects and clay method for small things.

My favourite thing to make is pumpkins of all shapes and sizes. I could tell you everything I know about making large paper mache pumpkins and it would never even come close to a snippet of what Scott Stoll knows. He is hands down, the paper-mache pumpkin master.
So let me just go on ahead and direct you right over to 
This link will give you all of the step by step instructions.

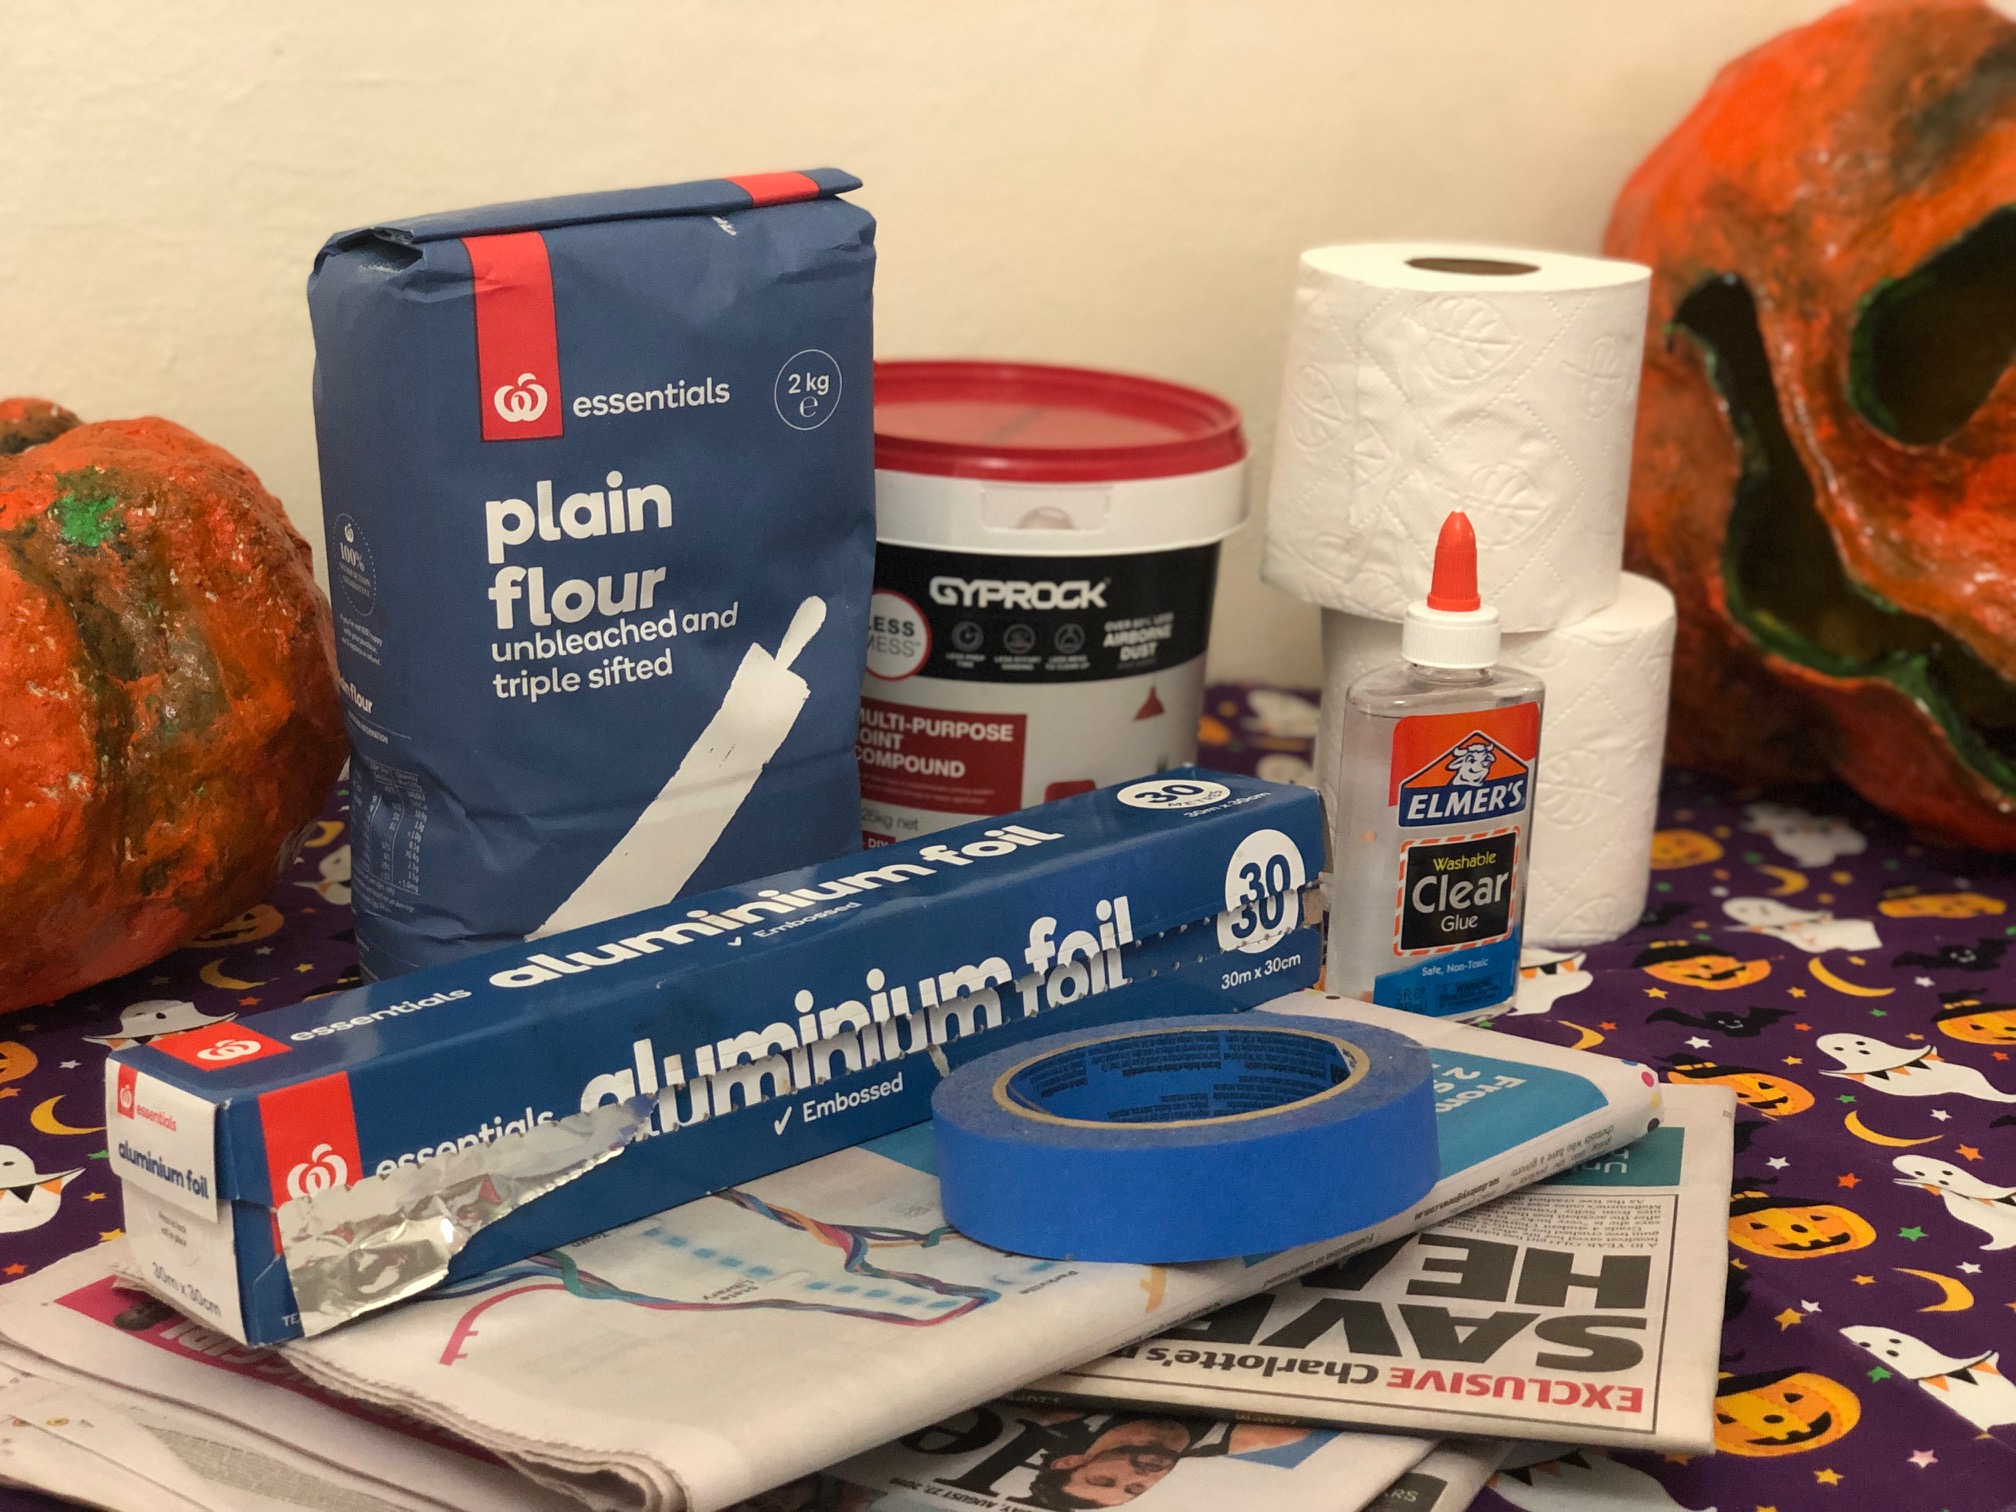
All you really need is newspaper or butcher paper, flour, pva glue, a trash bag, masking tape and some string then you will be on your way to making big Jack O' Lanterns.
Be careful, it's addictive. My pumpkins kept multiplying. I couldn't stop making more and more and then went down a Rabbit Hole and made a bunch of Alice in Wonderland sculptures but, I digress!!


I made the big Jack O Lantern head pictured above about 7 years ago and he's still kicking.
A few of my pumpkins became a nighttime snack for some rodent type critter so if you store them in a shed or garage I suggest wrapping up in plastic bags or plastic containers.  
Some tiny, furry creature thought paper-mache pumpkins were absolutely scrumptious!


For smaller projects, I like to use paper-mache clay. 
I use Jonni Good's recipe. She is super cute and has loads of fantastic YouTube tutorials. 


The only thing you may not have around the house is joint compound. I bought mine at Bunnings and it's also great to use if you want to smooth out other paper-mache projects using the paper strip method.


I like making pumpkins with the kids because the shape is super easy.
Squish a piece of newspaper into a ball. Wrap the ball in masking tape then wrap again with a layer of aluminum foil. 


Use a piece of cardboard to spread on a layer of paper-mache clay.
If it is cold and rainy outside the clay does take a while to dry completely. Setting the pumpkin up by a heater vent can help speed things up!!


Once the first coat has dried, add a second coat of clay. I found some dried twigs (I know, I know...always with the sticks) to use for the pumpkins' stems. Use a skewer to make a hole and pop in the twig. Make sure to cover the bottom of the twig in clay. Use the skewer to make pumpkin lines from the base of the stem.
Then it's just waiting for the pumpkins to dry.


When the clay is dry you can use fine sand paper to smooth but honestly I like a rough, rustic surface for these little guys. Break out the acrylic paint and give your Jack a good old 
Halloween smile! Don't stress about perfection. These guys should have a "folk art" feel to them anyway. 


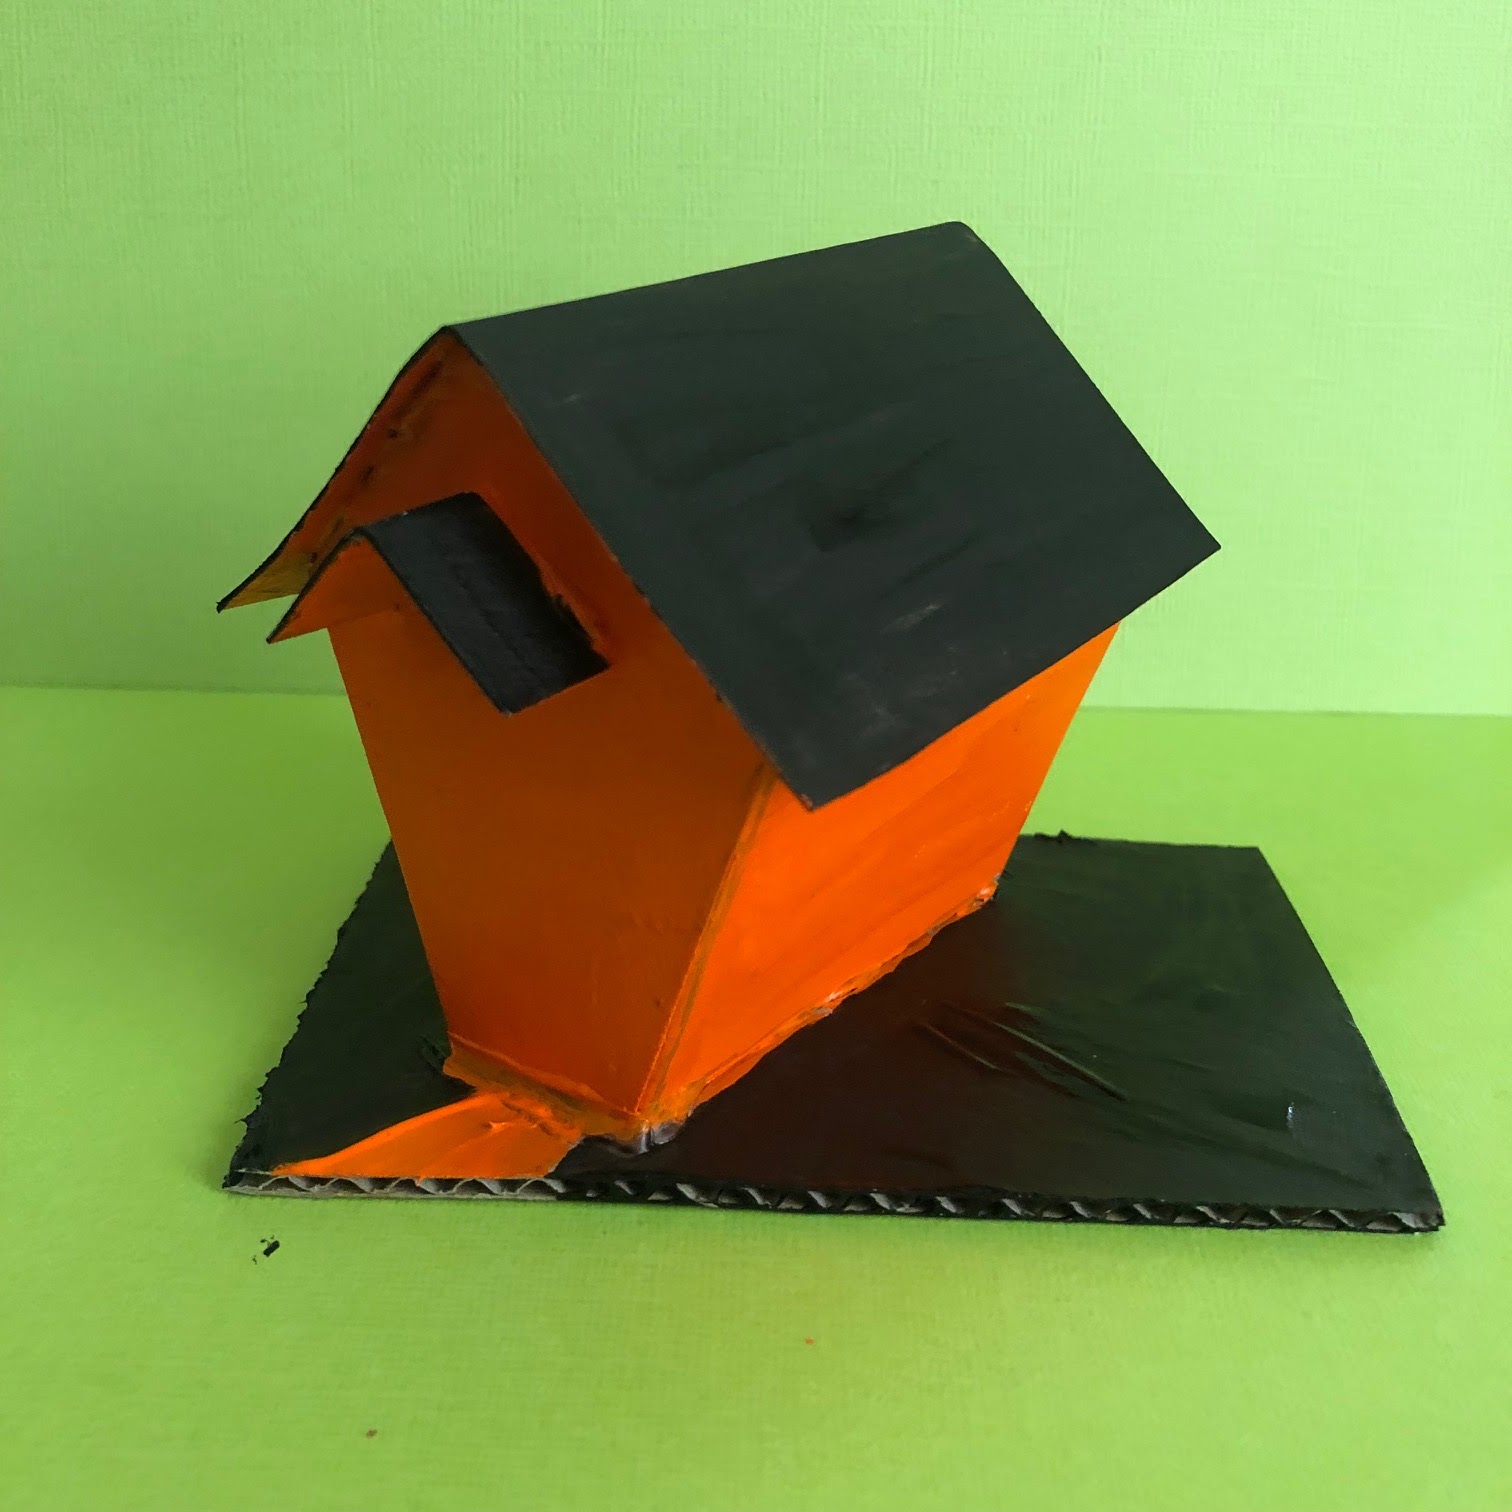
Of course you don't have to stick with pumpkins!!
I wanted a giant skeleton so with a heap of toilet paper rolls and loads of paper-mache this Skeleton was born.

I can't wait to see what You make!!


Halloween Glitter Houses

 Putz (aka Glitter) Houses may usually be seen as a Christmas thing but who wouldn't love a glittery Halloween Village?


Putz Houses are easy to make, fun with the kids and another craft that uses lots of stuff from around the house or headed to the bin.
I've made a house template and supply list that you can download

The Pattern has a plain house and a printable design. You can print directly onto cardstock or print on paper and glue the paper layer to a cereal box layer. 

For those of you not confident with cutting out your own house you can order pre cut cardboard houses. The two houses in the back row of the photo above were made with the pre cut houses.
They are definitely convenient but it's way more economical to cut you own.


I use cereal boxes for the house and cardboard for the base. Black foam core is also great for a base. Your base can be small if you don't want much of a scene around your house or large if you want to add lots of trees and buttons.


Pop hot glue on the folded tab of the house.


Hold the house in place until the glue sets.


Hot glue the bottom of the house and stick to the base.


Add hot glue along the roof line then pop on the roof. Next glue on the small awning.


Time to paint! I always paint my whole house with acrylic paint even on places I will cover with glitter.


If you are good with stanley knife you can cut windows and doors out before you glue your house together. I like to draw windows and glue them on. These are just black ball point pen on yellow paper.

If you don't draw you can print Halloween images to use in your windows.
The Graphics Fairy has loads of copyright free images.


These windows and doors came from the Graphics Fairy. I've added them to the pattern for you!


Glue on your windows and door and let them dry completely.


Paint the area that will be covered in glitter with PVA (school) glue.


Sprinkle Away!! Use a dry paint brush to wipe away unwanted glitter from the door and windows.


You can glitter the edge of the roof or the whole thing. I like to add glitter to the edge of the base as well.
You can stop here and have a perfectly lovely Halloween Putz House! 

OR......


Add Buttons and Sticks!!
My family teases me about sticks. I'm always gathering sticks for some craft project or another.


Hot glue some twigs together to make the "trunk" of the tree.


Make a puddle of hot glue then stick your tree in the puddle. Hold the tree in place until the glue sets. Once the glue dries completely you can paint the glue puddle black.


I bought a button bundle from Amazon (Buttons)

There are lots of cute Halloween buttons but also Thanksgiving/Autumn and Dia De Los Muertos included.
The packs vary so everyone doesn't receive the same buttons.
The back loop on the button cuts off pretty easily with regular scissors if you want your buttons flush against the house.

Add as many buttons as your heart desires!!

I also like using the mini bottle brush Christmas trees. I paint them black with acrylic paint and sprinkle on some glitter. I bought these mini trees on ebay but have also picked other sizes up at Spotlight and Kmart.


If you want your Putz House to hang on your Halloween tree simply poke two holes in the roof and add a ribbon before you glue the roof on.


There are loads of other free house templates online so you really could make a little Halloween village.
Or have a go at creating your own!!

I can't wait to see what you create! 
If you post on social media please tag me @elliottsplayground

Happy Halloween House Making!!