Beginner/Outline version- stem stitch is your best friend. If you need stitch help I learned most of my stitches watching Cutesy Crafts YouTube videos so HIGHLY recommend those! The whole outline is black stem stitches with long straight stitches making the ridges in the wings.
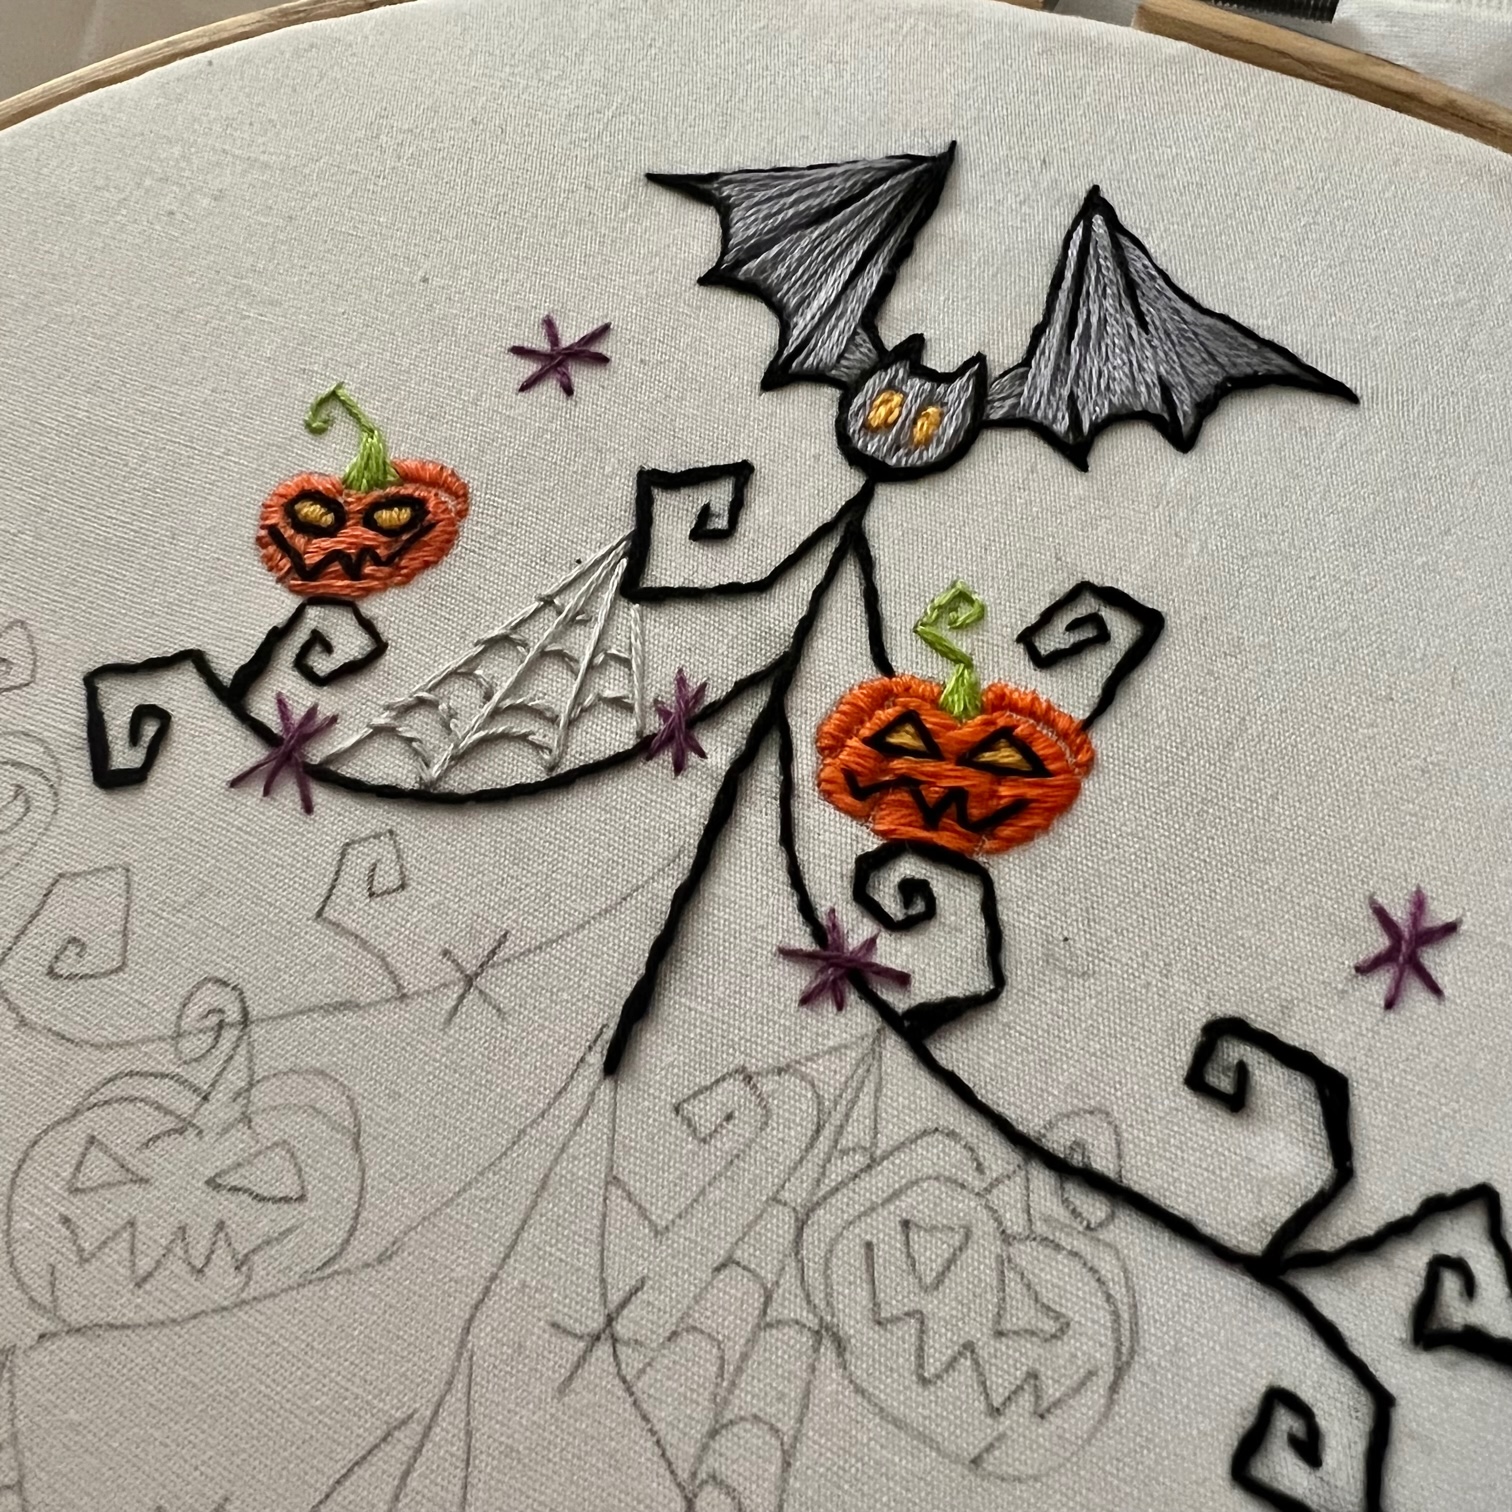
Full version- fill the bat with grey satin stitch. I used two strands throughout this project but if you want your satin stitch super smooth and you are more patient than I am, use one strand of floss. The eyes are filled with yellow satin stitch. The outline is black stem stitch with long, black straight stitches to make the ridges in the wings.
The next step is the same no matter if you’re doing the outline only or filled design, black stem stitch. The tree is all black stem stitch. Don’t stress about your stitches being perfect! If the branches are a little jagged it makes the tree look more spooky!!
I tend to get bored doing the same thing over and over so instead of doing the whole tree at once I kind of move in sections so I’m switching up the stitches. I also am not great at following patterns even when I draw them myself 😂😂 You’ll see I left the little swirly branch out on one hoop.
I used long, straight stitches to make the length of the web then stem stitch to make the small, curved parts. I used two strands on the white background but switched to one strand on the other two.
You can see my stitches are far from perfect!! Don’t stress about perfection. Webs are never completely perfect either which makes them unique and beautiful!!
For the outline only version it’s our old favourite, stem stitch!!
If you would like to fill the pumpkin use satin stitch. Make sure to fill each rounded portion of the pumpkin separately to give Jack his humps. Leave to space for the eyes unstitched.
A Jack O’ Lantern isn’t a Jack O’ Lantern without a face!!A black zig zag stitch makes Jack’s mouth on all 3 versions.Black outline version - eyes and stem are backstitchColour outline - eyes are black backstitch and stem is dark green backstitchFull version - yellow satin stitch fills the eyes, outlined by black backstitch. The stem is light green satin to fill in the bottom of the stem the backstitch at the top. A dark green backstitch along the edge of the stem makes it pop a bit.
Time to add a little twinkle with a star stitch, either purple or black depending on which version you’re going with.
From this point, the rest of the tree is pretty much wash, rinse, repeat. In other words keep going with these same stitches to make all of the pumpkins, webs and sparkles.
Even though the pumpkins at the bottom cover more space and may take a bit more time, I find stitching the larger pumpkins easier.
I sure hope you enjoyed stitch the Halloween Tree!!
Come back for Christmas time stitch-a-long.
The Tomtes will be back this year.