Tuesday 15 November 2022

Christmas Stitch-A-Long 2022


You can download from the link above or print screen below. 

I'll be posting my progress on Facebook and Instagram. 

Happy Stitching!!


Friday 4 November 2022

Halloween Tree Stitch A Long ~ Stitch instructions

Beginner/Outline version- stem stitch is your best friend. If you need stitch help I learned most of my stitches watching Cutesy Crafts YouTube videos so HIGHLY recommend those! The whole outline is black stem stitches with long straight stitches making the ridges in the wings.

Full version- fill the bat with grey satin stitch. I used two strands throughout this project but if you want your satin stitch super smooth and you are more patient than I am, use one strand of floss. The eyes are filled with yellow satin stitch. The outline is black stem stitch with long, black straight stitches to make the ridges in the wings.


The next step is the same no matter if you’re doing the outline only or filled design, black stem stitch. The tree is all black stem stitch. Don’t stress about your stitches being perfect! If the branches are a little jagged it makes the tree look more spooky!!

I tend to get bored doing the same thing over and over so instead of doing the whole tree at once I kind of move in sections so I’m switching up the stitches. I also am not great at following patterns even when I draw them myself 😂😂 You’ll see I left the little swirly branch out on one hoop.

I used long, straight stitches to make the length of the web then stem stitch to make the small, curved parts. I used two strands on the white background but switched to one strand on the other two.

You can see my stitches are far from perfect!! Don’t stress about perfection. Webs are never completely perfect either which makes them unique and beautiful!!

For the outline only version it’s our old favourite, stem stitch!!


If you would like to fill the pumpkin use satin stitch. Make sure to fill each rounded portion of the pumpkin separately to give Jack his humps. Leave to space for the eyes unstitched.

A Jack O’ Lantern isn’t a Jack O’ Lantern without a face!!

A black zig zag stitch makes Jack’s mouth on all 3 versions.

Black outline version - eyes and stem are backstitch

Colour outline - eyes are black backstitch and stem is dark green backstitch

Full version - yellow satin stitch fills the eyes, outlined by black backstitch. The stem is light green satin to fill in the bottom of the stem the backstitch at the top. A dark green backstitch along the edge of the stem makes it pop a bit.

Time to add a little twinkle with a star stitch, either purple or black depending on which version you’re going with.

From this point, the rest of the tree is pretty much wash, rinse, repeat. In other words keep going with these same stitches to make all of the pumpkins, webs and sparkles. 

Even though the pumpkins at the bottom cover more space and may take a bit more time, I find stitching the larger pumpkins easier.


I sure hope you enjoyed stitch the Halloween Tree!!
Come back for Christmas time stitch-a-long.
The Tomtes will be back this year.

Monday 17 October 2022

DIY Jack Skellington Felt Ornament

I love to make felt Nightmare Before Christmas characters for my NBC obsessed child. She's loved Jack and Sally since she was two and the infatuation is still going strong. 
I made a Jack yesterday for another Nightmare lover and wanted to share the steps with you!!
Or you can screenshot the pattern at the bottom of this post.
Use a black blanket stitch to add the eyes (Piece B) to the head (Piece A).

With a black stem stitch add eyebrows and some little laugh lines by the eyes.
The nostrils are about 5 satin stiches in the shape of a tear drop.

Make Jack's smile with a line of black stem stitch then go back over the smile with uneven and crooked single straight stitches. The more wonky the better!

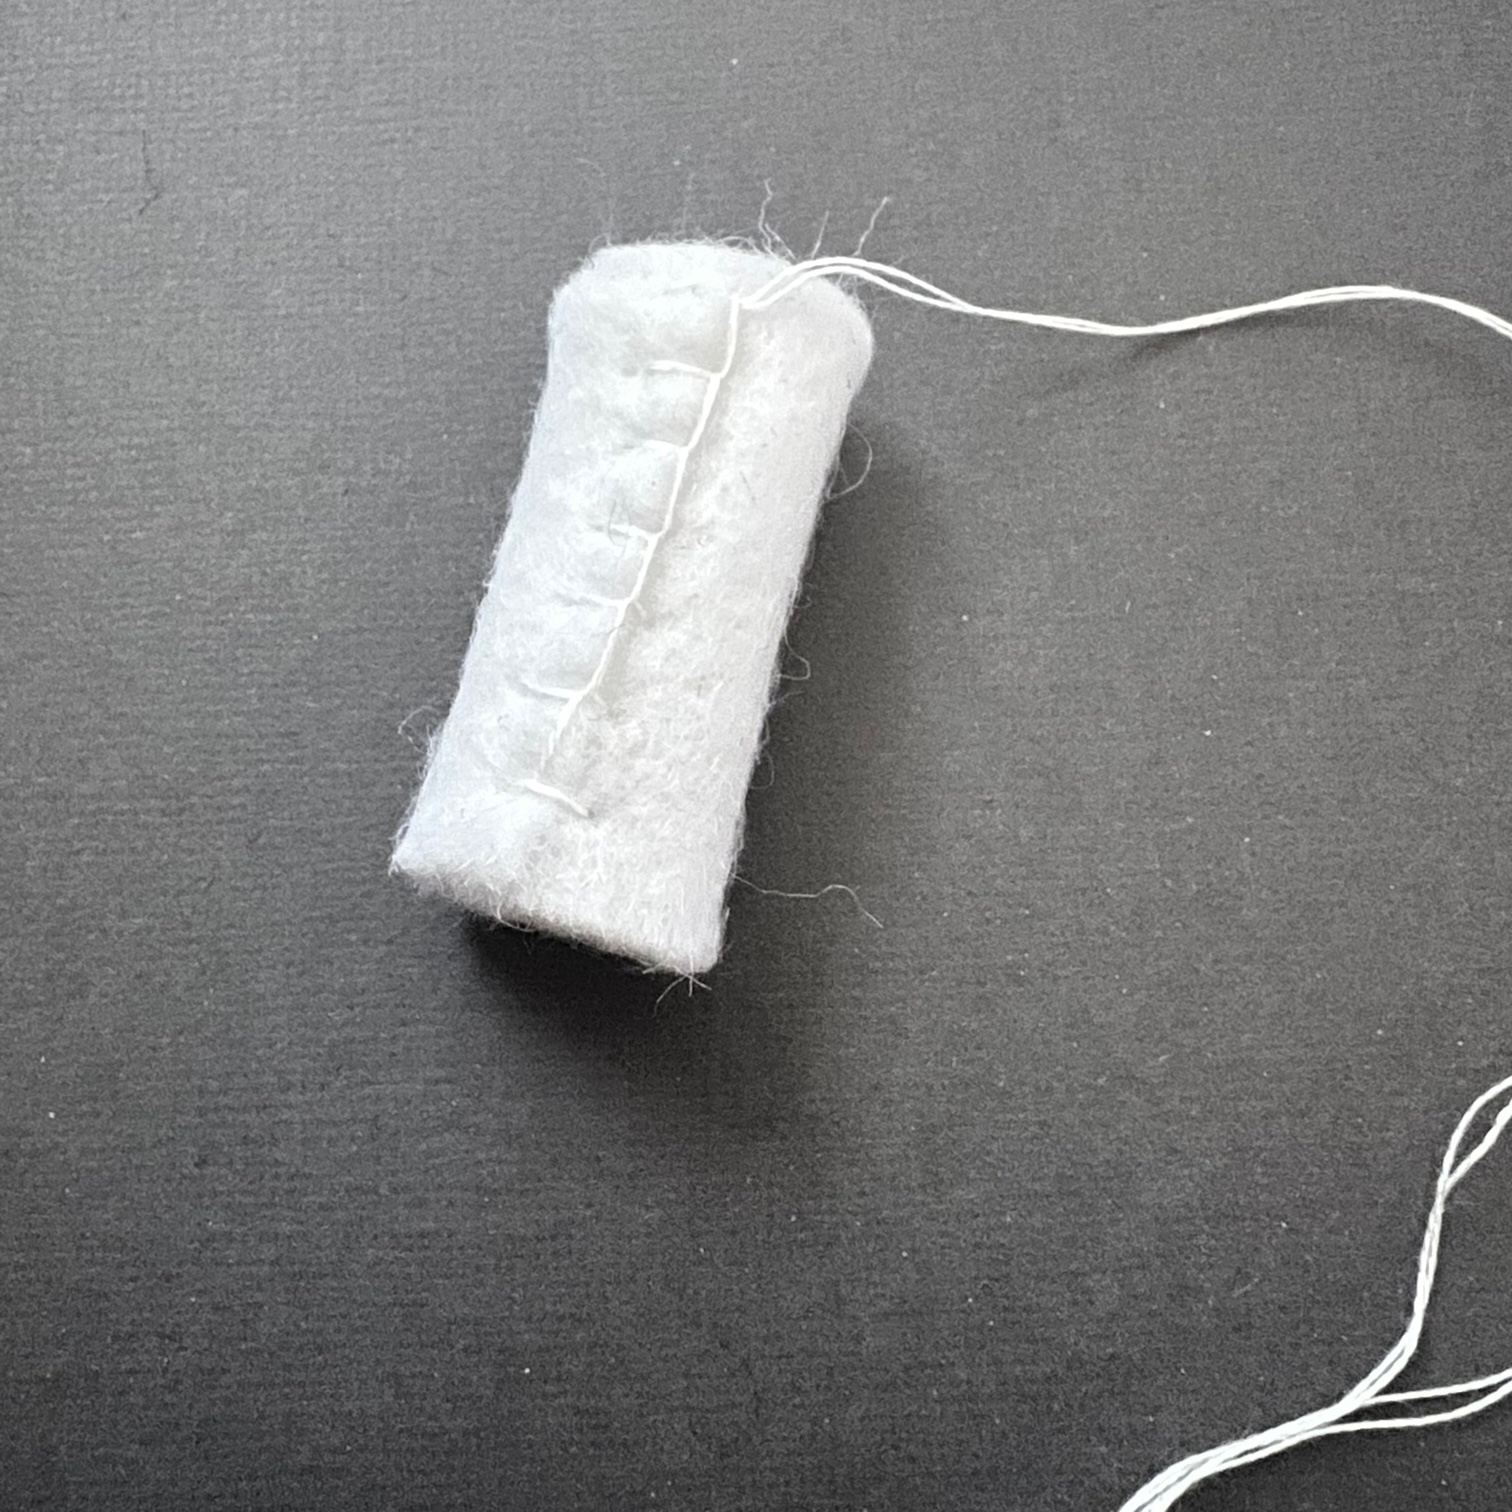
Roll the neck (Piece C) into a tube then close with a white blanket stitch.

Attach the head front and back to the neck with a white blanket stitch then stuff the neck.

White blanket stitch all the way around the head. Make sure to add your ribbon hanging loop in between the two pieces and stuff before you stitch completely closed.

Add five stripes to either side of Jack's bow tie (Piece F) with a white stem stitch. If it's a bit uneven and wonky that's a good thing!!!

Use a white blanket stitch to pop on the glittery bat eyes (Piece E) to the bat's head (Piece D).

Black blanket stitch the bat to the middle of the bow tie.

Keep going with the black blanket stitch to attach the bowtie to Jack's neck.

Black blanket stitch all around the edge of the bow tie to add the back (Piece F). 

Once the bow tie is finished your Jack Skellington is ready to be displayed!!

I love to see your creation so please tag me in on Instagram or Facebook!
@elliottsplayground #elliottsplayground

HAVE FUN!!!


Wednesday 12 October 2022

Grinch Felt Ornament


 I LOVE The Grinch!!!
Love! Love! Love! 
I wanted to share the process of making him with you!!
or screen grab the pattern pieces at the bottom of this post.

Start out by adding the mouth (Piece D) to the head (Piece A) with a black blanket stitch around the edge of the mouth. I used 4 strands of floss to add smile lines at the top of the mouth and the line coming up from the centre of the mouth.

Pop the nose (Piece B) into place with a green blanket stitch. Add a line of black stem stitch and a black french knot to give the nose some low lights. 

Use a red back stitch around the edge of the pupil (Piece E) to attach the pupil 
and eye (Piece C).

Using 4 strands of black, stem stitch around the outer edge of each eye. Give your Grinch smile lines around the eyes and eye lashes with some straight stitches. The eye brow is a line of stem stitch with straight stitches sticking out from the line. 
Go back to 2 strands for the black stem stitch swoop in each eyeball. Pop on a white french knot in each eyeball as well.

White back stitch the fur (Piece G) to the bottom of the Santa Hat (Piece F).

Keep going with the white back stitch to pop the hat on the Grinch's head.

Prepare the back piece in mirror image to the front.

Use a red blanket stitch around the edge of the hat to start closing up your ornament. Sandwich a piece of ribbon between the two sides before you stitch closed. Make sure to catch the ribbon in your stitches.

Close the white fur edges of the hat with a white back stitch. You can either stitch the white PomPom on with white thread or pop it on with a bit of hot glue. Stuff the hat before you sew up the Grinch's face.

Use a chartreuse blanket stitch to finish closing up your ornament. Make sure to stuff well before you stitch all the way around.
Pop your Grinch on your tree and ENJOY!!!!

Thursday 22 September 2022

Demogorgon

Who doesn't love Stranger Things? I DO! But I would being lying if I said the monsters didn't give me nightmares. How did I fix it when the Demogorgon was haunting my dreams? Made him into this cutie little ornament!!
I had this pattern listed on Etsy for a while but it's a bit iffy with intellectual property SO I decided not to sell it anymore. I do want everyone to have a cute Demogorgon for your tree so now the pattern is free! 
If you did purchase this pattern from me in the past, please have a little browse of my Etsy shop, pick out another ornament or hoop you would like to make, shoot me a message with your choice on Etsy and I'll send you that replacement pattern for free. 
 
You can also make a cool Stranger Things hoop with this pattern.

This little fella is right at home on a Halloween or Christmas tree!! 
Happy Creating!

If you have any issues downloading the pattern just shoot me an email on elliottsplayground@gmail.com and I will email the pattern back to you!!

Sunday 4 September 2022

Sitting Camel ~ A Bonus Pattern for the Nativity


I was working on a Nativity set an realised I wanted more levels so decided a sitting Camel would be nice!! This isn't a stand alone pattern but a modification to the Camel in the Melchior & the Camel Pattern. You will need that pattern to have all of the instructions to complete the sitting camel. You can find that Pattern in my Etsy shop.

Camel's like to fold their legs under them when they set so I just did a stem stitch outline of the legs on either side of the body.

The Front Piece is added with a blanket stitch.

I hot glued a piece of cardboard and some weights to the bottom before stuffing and closing up the Camel with a blanket stitch.
I put little pockets on the back pack instead of rolled blankets just to get some variety.
You can download the bonus pattern pieces below.