Monday, 17 October 2022

DIY Jack Skellington Felt Ornament

I love to make felt Nightmare Before Christmas characters for my NBC obsessed child. She's loved Jack and Sally since she was two and the infatuation is still going strong. 
I made a Jack yesterday for another Nightmare lover and wanted to share the steps with you!!
Or you can screenshot the pattern at the bottom of this post.
Use a black blanket stitch to add the eyes (Piece B) to the head (Piece A).

With a black stem stitch add eyebrows and some little laugh lines by the eyes.
The nostrils are about 5 satin stiches in the shape of a tear drop.

Make Jack's smile with a line of black stem stitch then go back over the smile with uneven and crooked single straight stitches. The more wonky the better!
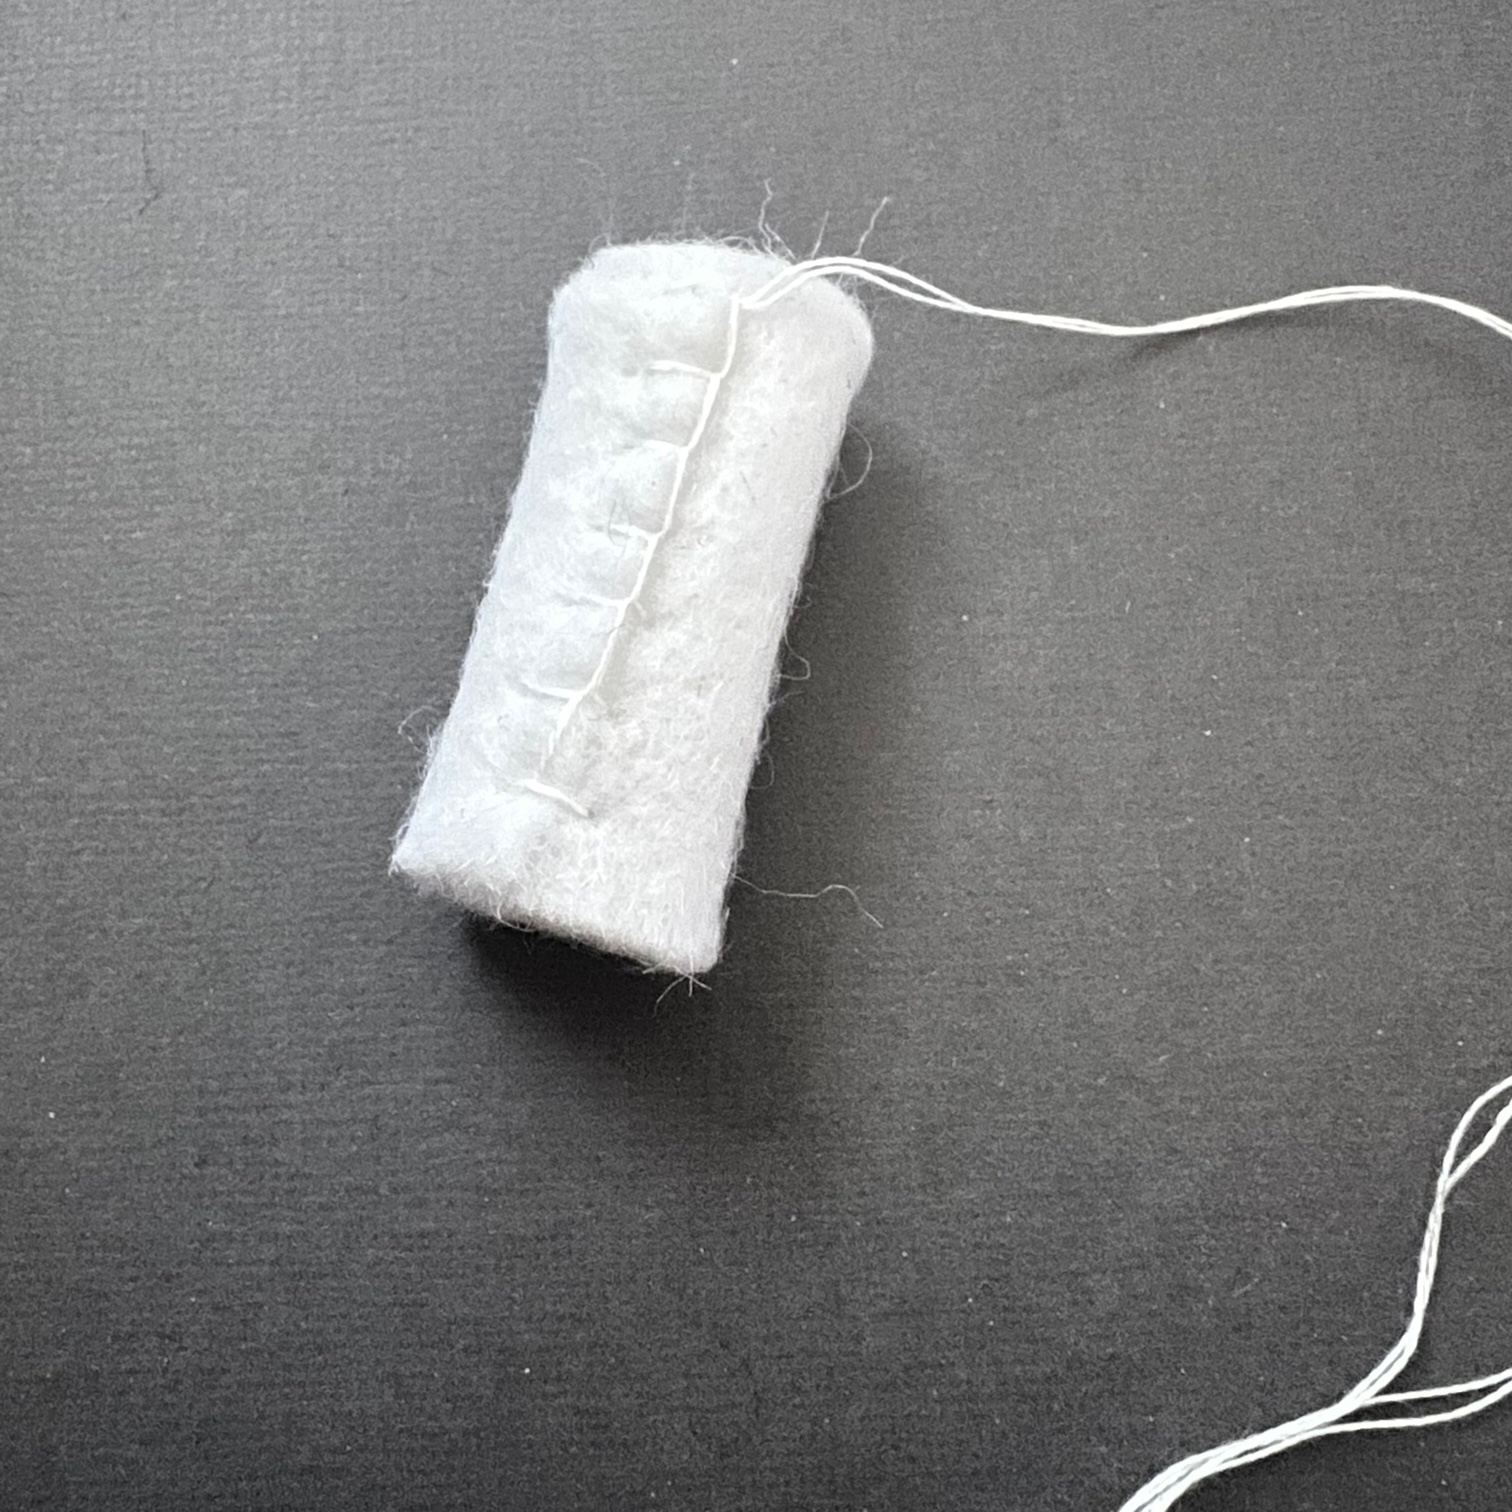
Roll the neck (Piece C) into a tube then close with a white blanket stitch.

Attach the head front and back to the neck with a white blanket stitch then stuff the neck.

White blanket stitch all the way around the head. Make sure to add your ribbon hanging loop in between the two pieces and stuff before you stitch completely closed.

Add five stripes to either side of Jack's bow tie (Piece F) with a white stem stitch. If it's a bit uneven and wonky that's a good thing!!!

Use a white blanket stitch to pop on the glittery bat eyes (Piece E) to the bat's head (Piece D).

Black blanket stitch the bat to the middle of the bow tie.

Keep going with the black blanket stitch to attach the bowtie to Jack's neck.

Black blanket stitch all around the edge of the bow tie to add the back (Piece F). 

Once the bow tie is finished your Jack Skellington is ready to be displayed!!

I love to see your creation so please tag me in on Instagram or Facebook!
@elliottsplayground #elliottsplayground

HAVE FUN!!!


Wednesday, 12 October 2022

Grinch Felt Ornament


 I LOVE The Grinch!!!
Love! Love! Love! 
I wanted to share the process of making him with you!!
or screen grab the pattern pieces at the bottom of this post.

Start out by adding the mouth (Piece D) to the head (Piece A) with a black blanket stitch around the edge of the mouth. I used 4 strands of floss to add smile lines at the top of the mouth and the line coming up from the centre of the mouth.

Pop the nose (Piece B) into place with a green blanket stitch. Add a line of black stem stitch and a black french knot to give the nose some low lights. 

Use a red back stitch around the edge of the pupil (Piece E) to attach the pupil 
and eye (Piece C).

Using 4 strands of black, stem stitch around the outer edge of each eye. Give your Grinch smile lines around the eyes and eye lashes with some straight stitches. The eye brow is a line of stem stitch with straight stitches sticking out from the line. 
Go back to 2 strands for the black stem stitch swoop in each eyeball. Pop on a white french knot in each eyeball as well.

White back stitch the fur (Piece G) to the bottom of the Santa Hat (Piece F).

Keep going with the white back stitch to pop the hat on the Grinch's head.

Prepare the back piece in mirror image to the front.

Use a red blanket stitch around the edge of the hat to start closing up your ornament. Sandwich a piece of ribbon between the two sides before you stitch closed. Make sure to catch the ribbon in your stitches.

Close the white fur edges of the hat with a white back stitch. You can either stitch the white PomPom on with white thread or pop it on with a bit of hot glue. Stuff the hat before you sew up the Grinch's face.

Use a chartreuse blanket stitch to finish closing up your ornament. Make sure to stuff well before you stitch all the way around.
Pop your Grinch on your tree and ENJOY!!!!

Thursday, 22 September 2022

Demogorgon

Who doesn't love Stranger Things? I DO! But I would being lying if I said the monsters didn't give me nightmares. How did I fix it when the Demogorgon was haunting my dreams? Made him into this cutie little ornament!!
I had this pattern listed on Etsy for a while but it's a bit iffy with intellectual property SO I decided not to sell it anymore. I do want everyone to have a cute Demogorgon for your tree so now the pattern is free! 
If you did purchase this pattern from me in the past, please have a little browse of my Etsy shop, pick out another ornament or hoop you would like to make, shoot me a message with your choice on Etsy and I'll send you that replacement pattern for free. 
 
You can also make a cool Stranger Things hoop with this pattern.

This little fella is right at home on a Halloween or Christmas tree!! 
Happy Creating!

If you have any issues downloading the pattern just shoot me an email on elliottsplayground@gmail.com and I will email the pattern back to you!!

Sunday, 4 September 2022

Sitting Camel ~ A Bonus Pattern for the Nativity


I was working on a Nativity set an realised I wanted more levels so decided a sitting Camel would be nice!! This isn't a stand alone pattern but a modification to the Camel in the Melchior & the Camel Pattern. You will need that pattern to have all of the instructions to complete the sitting camel. You can find that Pattern in my Etsy shop.

Camel's like to fold their legs under them when they set so I just did a stem stitch outline of the legs on either side of the body.

The Front Piece is added with a blanket stitch.

I hot glued a piece of cardboard and some weights to the bottom before stuffing and closing up the Camel with a blanket stitch.
I put little pockets on the back pack instead of rolled blankets just to get some variety.
You can download the bonus pattern pieces below.

Monday, 22 August 2022

Johanna Parker Design Halloween Glitter House

 Hello Hallozween Readers and all you Spooky Crafters!!

I'm very excited about this collaboration because I really LOVE Putz houses. To be honest, I love Anything covered in Glitter! Little tiny, festive houses covered in glitter are even better. Halloween tiny houses covered in glitter and using Johanna Parker Design patterns are the VERY BEST!!!


Download the free pattern and check out all of Elliott's Playground collaborations 
with Johanna Parker Design 


Sunday, 21 August 2022

Halloween Tree ~ Spooky Season Stitch-Along

Welcome Hallozween Readers and all you Spooky Crafters!!
It's Time for a Stitch~Along!!!

(for those of you who don't stitch, look out on Instagram for a finished hoop giveaway!!)


I've compiled a supply list and the pattern to trace which you can

If you have any trouble accessing this pattern (Google drive seems to be finicky with some access) please send me a message on Instagram or shoot me an email elliottsplayground@gmail.com and I can email you everything. 

I've posted the pattern and supply list at the bottom of the post as well if you want to copy or screen shot directly from there.


I'll start sharing my stitching methods and progress on Instagram, Facebook and here October 1 and keep going through the month of October. I sure hope you can join me!! 

Follow along on Instagram and Facebook @elliottsplayground

I can't wait to see what you create!!


Friday, 19 August 2022

Halloween Shadow Box Ornaments

 Hello Hallozween Readers and All Spooky Crafters!!

Who doesn't love those Vintage Halloween Cards? Black cats and pumpkins abound. I've made a small collection of Vintage Halloween cards that are in the public domain and free to use for personal use. Download the collection  HERE 


Print out the Vintage Collection on photo paper
You will also need
Scissors
Black Cardstock 
Hot Glue Gun & Glue Sticks
PVA (school) Glue
Old paint brush that you don't mind dipping in glue
Scissors
Glitter
Ribbon
An assortment of festive buttons and mini bottle brush trees (I found a bunch on Amazon and Ebay)

Cut out the Vintage Halloween Card images. Cut a piece of black cardstock that is about 1.5cms (1/2 inch) bigger around than the vintage image. Make a diagonal cut at each corner. 

    Fold the corners in and make the black card stock into a little box shape.

Hot Glue the vintage image into place. 
Pop a drop of hot glue on the outside flap of each corner.

Then secure each side in place. 

Repeat this until you have all of your images in little shadow boxes.

Gather up your glitter and PVA Glue

Brush the glue on the edge of the Shadow Box then sprinkle on the glitter.

After the glue and glitter has dried a bit, gather up your festive buttons.

Hot glue your buttons anywhere that strikes your fancy in and around the shadow box.

Pop a piece of ribbon on the top corners of the shadow box with hot glue.


Finished!! Your Vintage Halloween Shadow Box is ready to hang on your Halloween Tree!!