
Putz (aka Glitter) Houses may usually be seen as a Christmas thing but who wouldn't love a glittery Halloween Village?

Putz Houses are easy to make, fun with the kids and another craft that uses lots of stuff from around the house or headed to the bin.
I've made a house template and supply list that you can download
The Pattern has a plain house and a printable design. You can print directly onto cardstock or print on paper and glue the paper layer to a cereal box layer.
For those of you not confident with cutting out your own house you can order pre cut cardboard houses. The two houses in the back row of the photo above were made with the pre cut houses.
They are definitely convenient but it's way more economical to cut you own.

I use cereal boxes for the house and cardboard for the base. Black foam core is also great for a base. Your base can be small if you don't want much of a scene around your house or large if you want to add lots of trees and buttons.

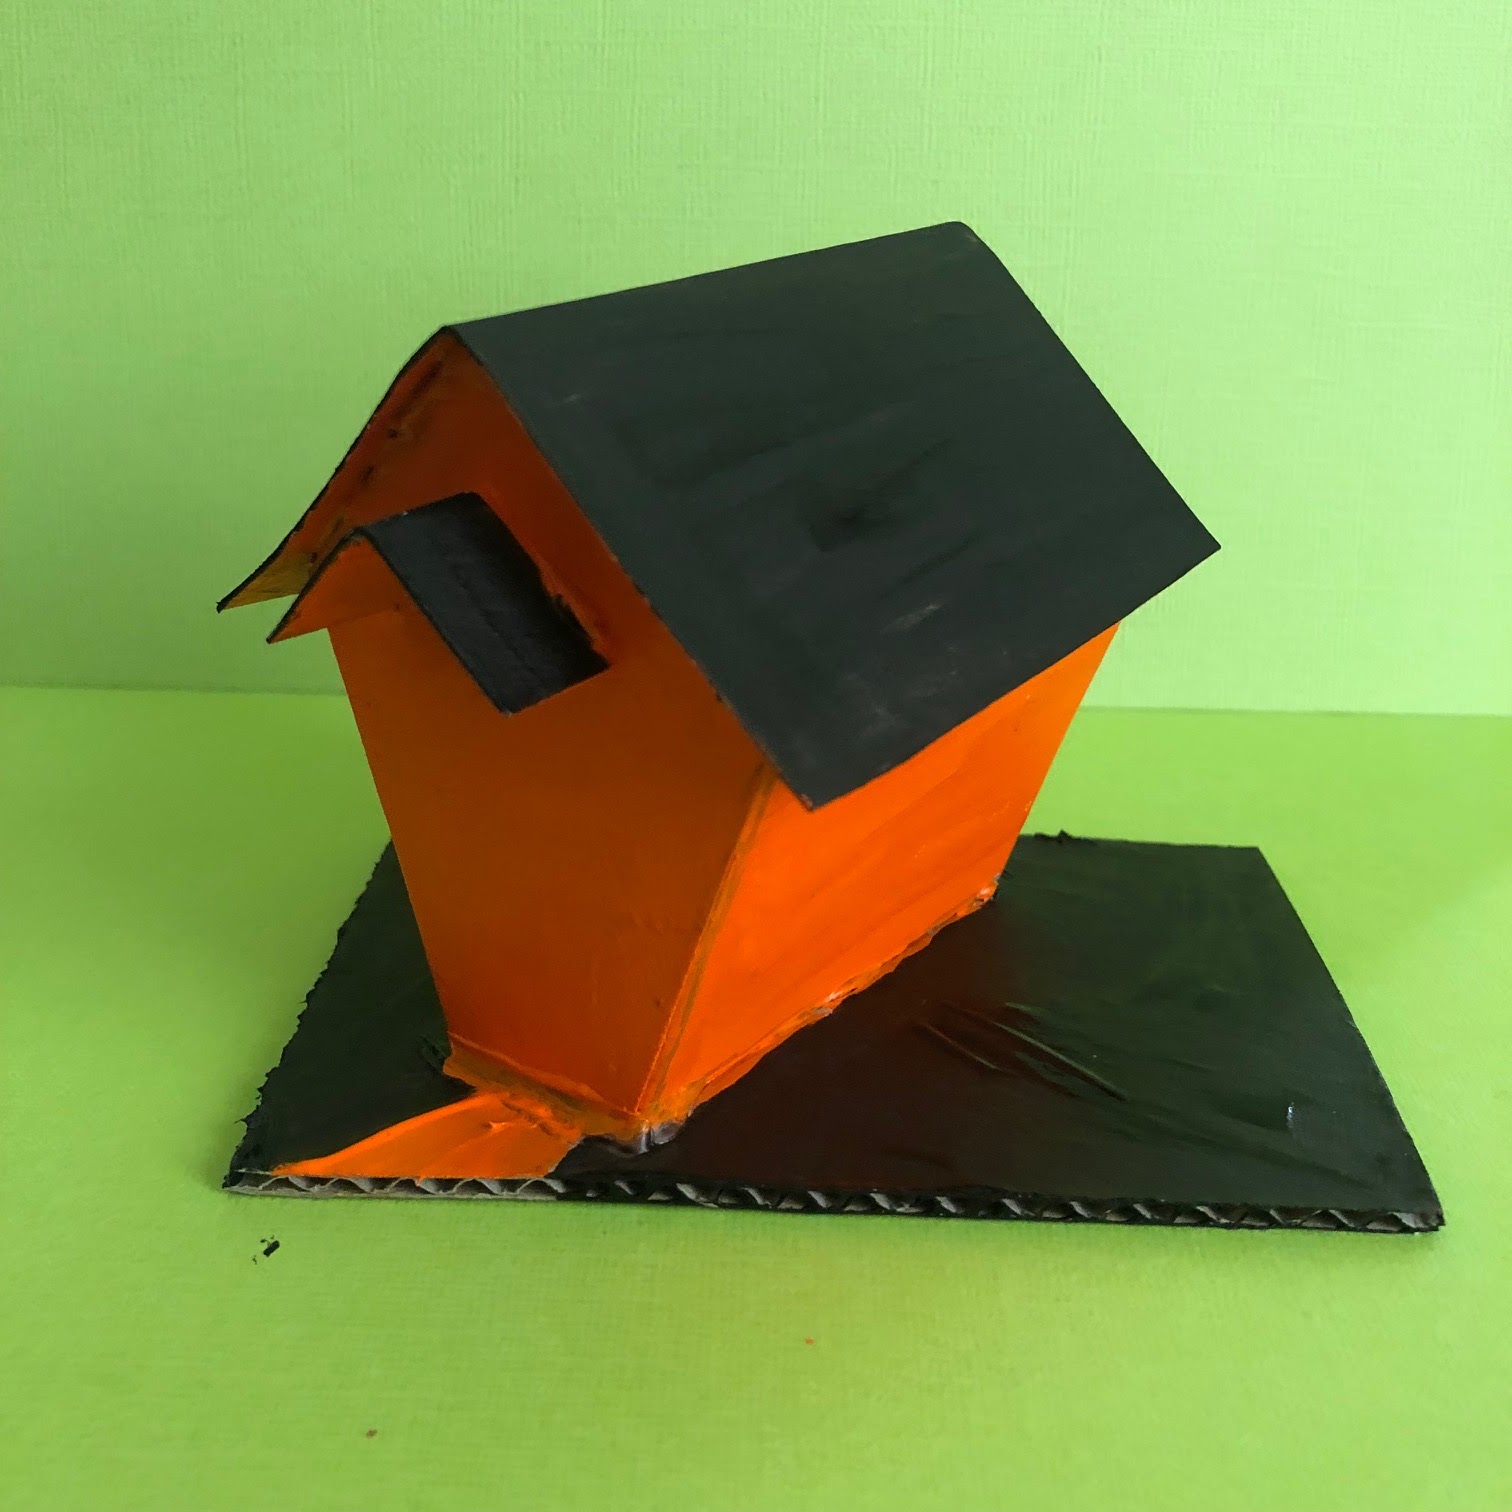
Pop hot glue on the folded tab of the house.

Hold the house in place until the glue sets.

Hot glue the bottom of the house and stick to the base.

Add hot glue along the roof line then pop on the roof. Next glue on the small awning.
Time to paint! I always paint my whole house with acrylic paint even on places I will cover with glitter.

If you are good with stanley knife you can cut windows and doors out before you glue your house together. I like to draw windows and glue them on. These are just black ball point pen on yellow paper.
If you don't draw you can print Halloween images to use in your windows.
The Graphics Fairy has loads of copyright free images.

These windows and doors came from the Graphics Fairy. I've added them to the pattern for you!

Glue on your windows and door and let them dry completely.

Paint the area that will be covered in glitter with PVA (school) glue.

Sprinkle Away!! Use a dry paint brush to wipe away unwanted glitter from the door and windows.

You can stop here and have a perfectly lovely Halloween Putz House!
OR......

Add Buttons and Sticks!!
My family teases me about sticks. I'm always gathering sticks for some craft project or another.

Hot glue some twigs together to make the "trunk" of the tree.

Make a puddle of hot glue then stick your tree in the puddle. Hold the tree in place until the glue sets. Once the glue dries completely you can paint the glue puddle black.

I bought a button bundle from Amazon (Buttons)
There are lots of cute Halloween buttons but also Thanksgiving/Autumn and Dia De Los Muertos included.
The packs vary so everyone doesn't receive the same buttons.
The back loop on the button cuts off pretty easily with regular scissors if you want your buttons flush against the house.
Add as many buttons as your heart desires!!

I also like using the mini bottle brush Christmas trees. I paint them black with acrylic paint and sprinkle on some glitter. I bought these mini trees on ebay but have also picked other sizes up at Spotlight and Kmart.

If you want your Putz House to hang on your Halloween tree simply poke two holes in the roof and add a ribbon before you glue the roof on.

There are loads of other free house templates online so you really could make a little Halloween village.
Or have a go at creating your own!!
I can't wait to see what you create!
If you post on social media please tag me @elliottsplayground
Happy Halloween House Making!!
No comments:
Post a Comment